How to Create a Google Group
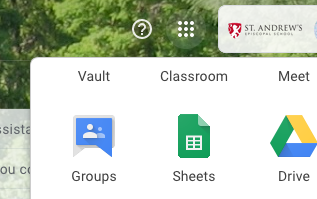
Click the Google Apps icon (9 dots on the upper right) and select Groups:
Click the Create Group box ![]()
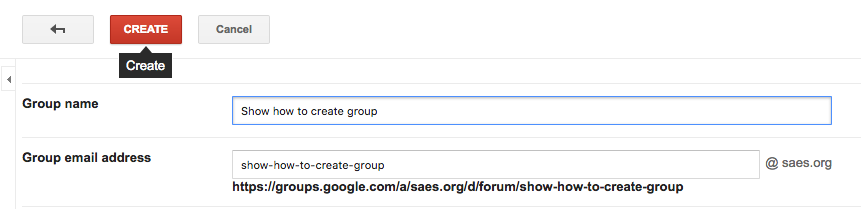
Give the Group a name and an email address the email address will create itself off of the name of the group, which you can edit). Make these fields so users can clearly see the purpose of the group. For example, if this a Block B list of students who are working on a project together give the description "Block B Project Students" and an email address of "block-b-project-students". This will help you further down the road when you want to start removing some of these groups.
There are Basic permissions listed further down you can use to say who can post to the group, who can see the group and who can join the group. In most cases you can leave it as the default settings.
Now press Create:
This screen will pop-up:
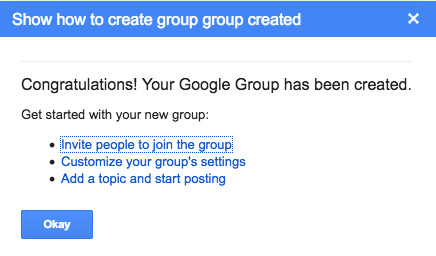
Press Okay.
Now press the Manage Members link (middle far right) ![]()
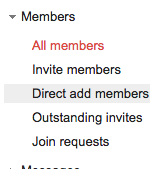
To add members to your group you will want to choose the Direct add members option (this will put members in the group without their approval needed and will only work for members who are in our domain):
After you've added all desired members, and welcome message if you wish, press the Add button and you are ready. Sometimes the group can take a few hours to become visible when you choose to send an email to it, but is usually readily visible.